Wanna build your own website or app? There is something magical about building an application from scratch and to do that you need both a frontend and a backend. In this post I’m going to take you along the journey of building a backend in Express.js.
First of, let us talk about what Express.js is. Express.js is a popular framework that enables you to build server applications in node.js. You can think of it as the link between your frontend and database. So instead of, linking your database directly to your frontend, you build a backend that handle request and sends data back to your backend in the right format. Just to give you an idea, the following is a list of combination of how you can design you client-server architecture stack.
- Angular.js (Frontend) + Express.js (Backend) + MongoDB (Database)
- Flutter (Frontend) + Express.js (Backend) + MongoDB (Database)
- React.js (Frontend) + Expressjs (Backend) + Firebase (Database)
Now that we know what it is used for, it’s time to setup an Express.js Backend.
Create a new Express.js backend
I like working in VS Code so everything is going to be done using that code editer. If you haven’t already setup your code editer for node.js, you can follow the guide here. Check if you already have installed it by running npm install.
First step into the world of building your own Express.js backend is to create a new project.
Go to VS Code
- In the terminal go to the desired location on your computer where you wanna store your project and write mkdir <project-name>
- Change to the new created folder with cd <project-name>
- Initialize node.js in your new project by writing npm init
- Fill out the questions asked (you can always modify the inputs later)
- You will now find a new file in your folder package.json
- Install Express.js by running npm install express
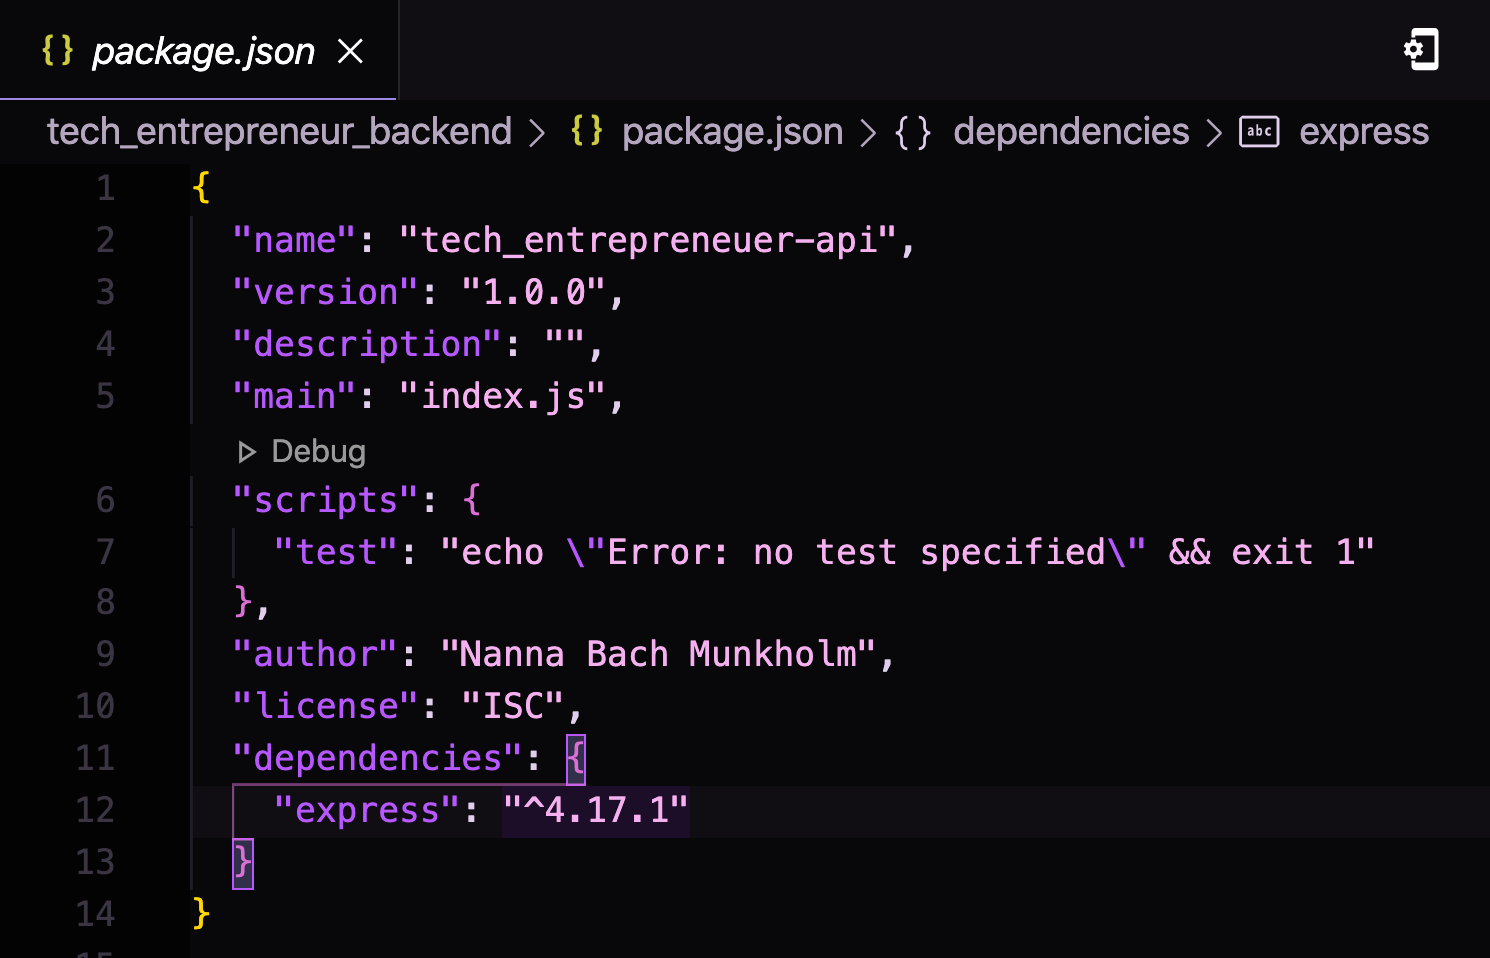
You folder will now include a new folder node_modules and package-lock.json including all preinstalled packages and the package.json file that will now look something like this:
Run the Express.js server
Now that you have installed that right packages it is time to create a file that can run the Express.js backend. So in your folder create a new file called app.js and write the following.
js
// http://localhost:3000/
If you are not familiar with the JavaScript syntax you can read more about it here.
To run your server and see if it gives you the desired outcome, go to your terminal and write node app.js. Go to a browser and type in http://localhost:3000/ and you should now see “Server is up and listerning on port 3000” in your terminal. But ass you can see in the browser it returns with “Cannot GET /”. This is because we haven’t specified a router, so /contact go to the contact page and / goes to the main page. See below how to write the router function. In the function you have req which stands for request and res for respond. This server will therefor respond with “Hello, here is your first Express.js backend” in your browser and “Responding to root route” in your terminal. Remember to restart the server in your terminal.
js
Return data in json format in Express.js
Lets say you have a datebase with users and you want the route /users to respond with the user information in json format. Then you can define a variable user1 and respond that variable in a json format as shown below.
js
Optimize your workflow when working with Express.js
To make your life easier when working with your new Express.js backend, you can install the package nodemon. This package automatically restarts your node application when it detects changes in your folder.
Run the following code in your terminal:
sudo npm install -g nodemon
When it is installed you can use nodemon app.js instead of node app.js.
I hope this helped you get started setting up your Express.js backend. If you have any questions or problems please leave a comment and I will see if I can help. If you haven’t decided on which frontend framework you want to use, then check out my post on how to get started working with Flutter.
Have a great day and happy coding 👩🏽💻


