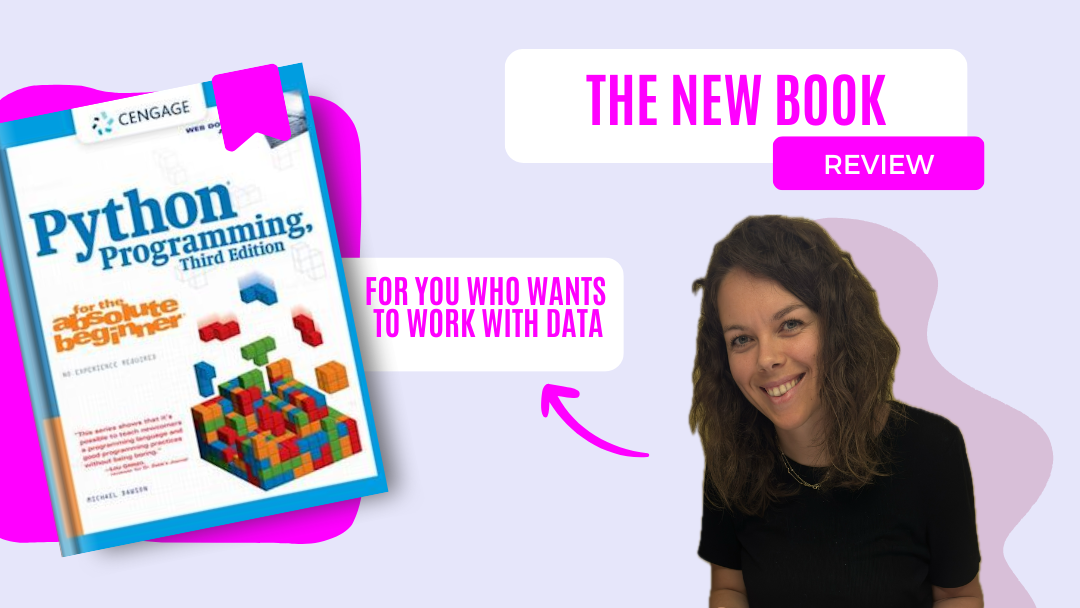
Python Programming for the absolute beginner
A Perfect Starting Point for Python Newbies
Forfatter: Michael Dawsons
“Python Programming for the Absolute Beginner” was my first dive into the world of Python programming, and I must say, it was an excellent choice for a beginner like me. This book, authored by Michael Dawsons, provides a welcoming and comprehensive introduction to Python, making it an ideal choice for anyone new to programming.
One of the standout features of this book is its abundance of practical examples. Python is renowned for its readability and simplicity, and this book capitalizes on those qualities by presenting a multitude of hands-on exercises and code snippets. These examples are thoughtfully designed to reinforce the concepts explained in each chapter. They were instrumental in helping me grasp the fundamental concepts of Python quickly and effectively.
The book is structured in a logical and progressive manner. It starts with the absolute basics, assuming no prior programming experience, and gradually introduces more complex topics. The pacing is comfortable, allowing readers to build a strong foundation before moving on to more advanced concepts. This approach greatly reduces the intimidation factor often associated with learning a new programming language.
The explanations provided are clear and concise, and complex topics are broken down into manageable chunks. The author has a talent for simplifying intricate ideas without oversimplifying them, ensuring that readers develop a solid understanding of Python’s core principles.
Additionally, the book covers essential topics such as data types, loops, functions, and object-oriented programming, making it a well-rounded resource for beginners. While it might not delve as deeply into these topics as more specialized books, it offers a fantastic starting point for further exploration.
In conclusion, “Python Programming for the Absolute Beginner” is an excellent choice for anyone new to Python. Its practical examples, clear explanations, and gradual progression make it a solid starting point for beginners. While it might not be the only book you need on your Python journey, it certainly provides a strong foundation to build upon. I wholeheartedly recommend it to anyone taking their first steps into the world of Python programming.